 Nederlands
 English
 Great Britain
 Deutsch
 Français
 Svenska
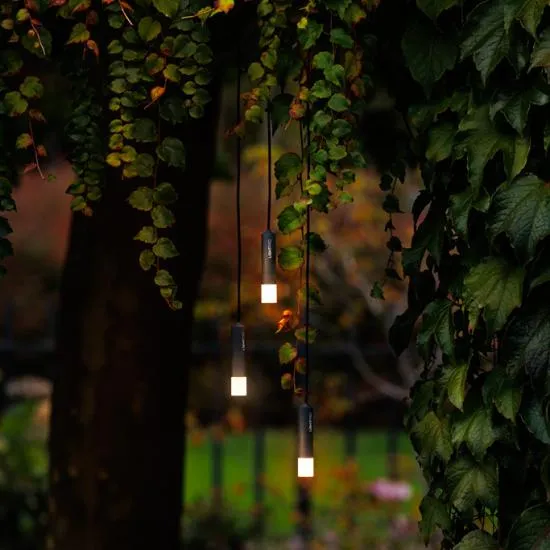
Installing garden lighting quickly and without an electrician

Installing garden lighting
Our professional and innovative 12-volt outdoor lighting works quickly and easily. And no less important, it is safe to use. You do not need any specific technical knowledge to install it. The system is suitable for all gardens. Since you don’t have to bury the cables, changing or adding a lamp is a piece of cake! With cables of various lengths and the handy connector, you can let your creativity run free. Shine on!
We supply fittings, a mains cable, a transformer and the necessary connectors for installing 12-volt outdoor lighting. Do you want to know exactly how to build the system step by step? Then watch the installation videos with detailed explanations here.
Of course, you want a beautiful result with an optimal experience for you or your customer. Think carefully beforehand about what sort of atmosphere you want to create. To get a better picture of what you want, we recommend first drawing up a lighting plan. You decide how you want to light up your garden and with which fixtures. Here, too, good preparation is everything!
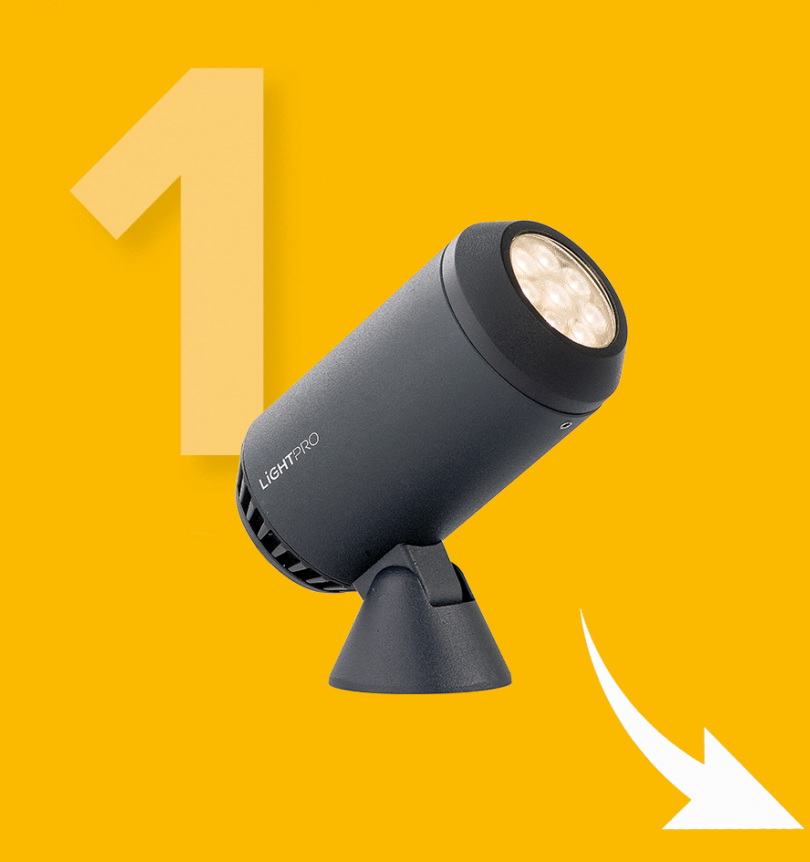
Choose your lights!
Step 1Which lighting do you choose? We have spotlights, free-standing lights, wall lights, recessed lights and decorative lights for you. Lighting creates an optimal and constantly changing ambience, but it is also functional. Uplights for illuminating a gravel path, a wall light at the front door or an outdoor light with a built-in motion sensor. Outdoor lighting is enormously versatile in all its applications.
View the different options here:
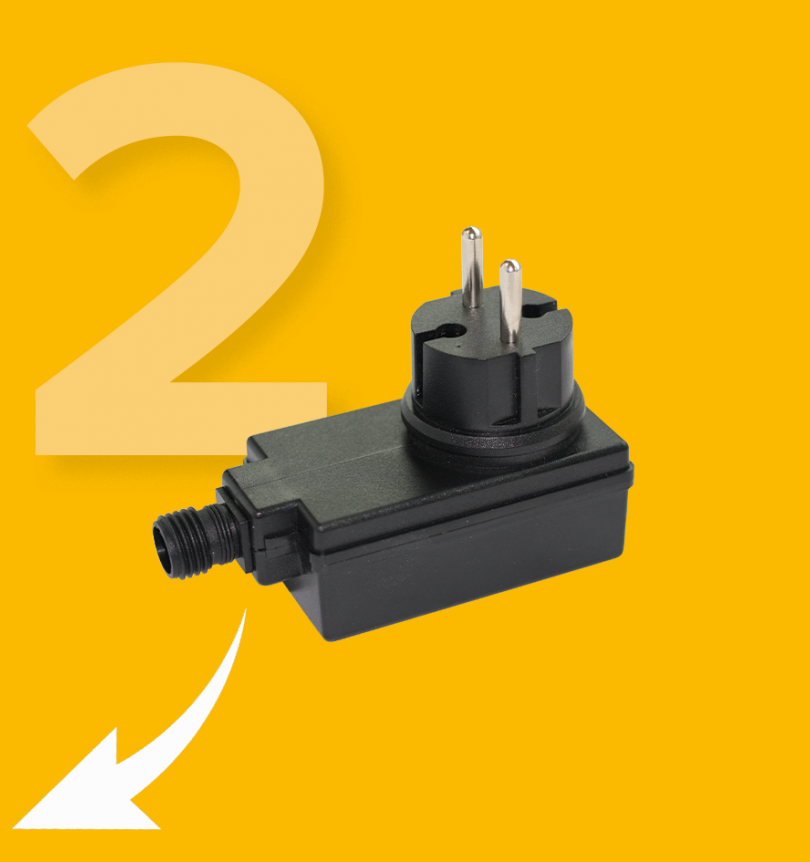
Choose a transformer
Step 2Choosing the right transformer is the next step. Add up the wattage of all the outdoor lights to find out exactly which transformer best suits your plan. Always ensure an overcapacity of watts. Handy if you expand the network with more lamps and/or accessories in the future. Have you picked out a transformer? Then simply connect it. Insert the starting point of the main cable into the M-connector. Then complete the process by connecting the M-connector to the transformer.
View the options here:
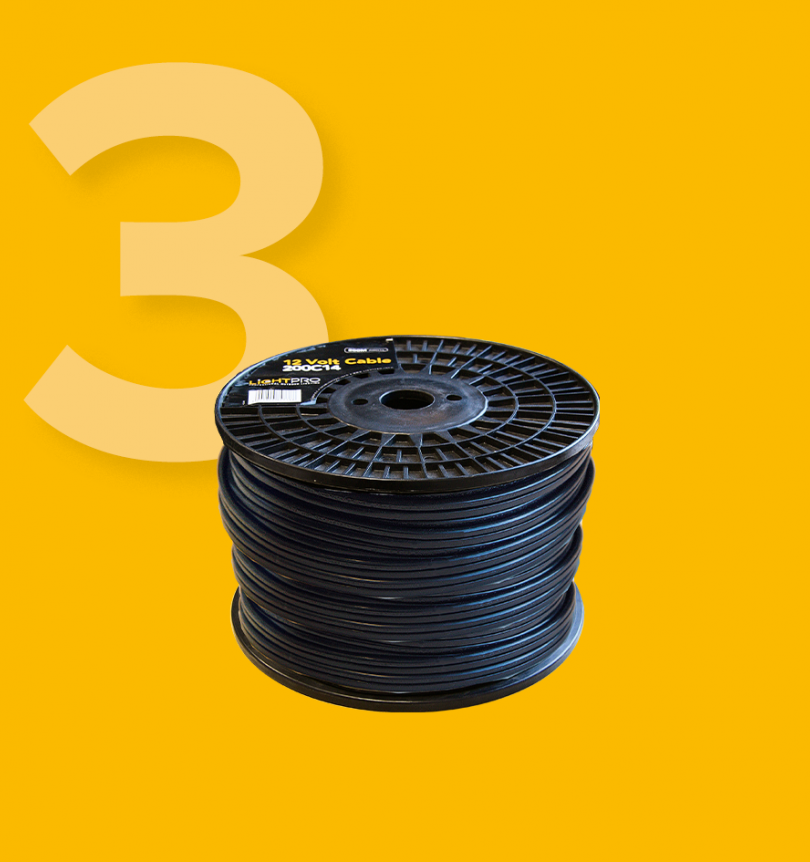
Connecting cables
Time to connect the cables. Lay the main cable along all the lights you’ve installed and connect the F-connector to the system. Connect the branches with an extension cable and plug the connected M-connector into the F-connector on the main cable. Then connect the cable of the lamp to the F-connector of the branch.